Crystal Clusters vs. Single Points: Which Specimen Should You Collect?
October 31, 2026 - Crystals
Hardness testing has a bad reputation among collectors, and with reason. A careless scratch across a fine fluorite cube can ruin a specimen that was perfectly identifiable by other means. Yet Mohs’ scale remains one of the most useful field tests we have. It is cheap, portable, and—when used with restraint—remarkably informative. The trick is to treat hardness as a small, controlled comparison rather than a test of courage on your best crystal.
Mineral identification rarely depends on a single property. Hardness works best alongside luster, cleavage, streak, crystal form, color, and the context in which the specimen was found. A hardness result can confirm a suspicion, separate two similar-looking minerals, or send you back to the streak plate with a better question.
It also helps you avoid expensive mistakes. A soft, soapy-feeling mineral that a fingernail marks is unlikely to be quartz, no matter how clear it looks. A specimen that scratches glass but cannot be scratched by a steel nail is probably harder than apatite and softer than topaz. Those are useful brackets, even when they do not give a name.
Hardness is not toughness. Diamond sits at the top of the scale, but a sharp blow can still break it. Jade may be softer than quartz yet far tougher in hand. Keep the two ideas separate: hardness measures resistance to scratching; toughness measures resistance to breaking.
The scale runs from talc at 1 to diamond at 10, with gypsum, calcite, fluorite, apatite, orthoclase, quartz, topaz, and corundum in between. The numbers are ordinal, not linear. Corundum at 9 is not “three times harder” than quartz at 7 in any simple arithmetic sense. It is simply harder, and the gap in practical terms is large.
Use the scale as a ladder of comparisons. A mineral with hardness 6 scratches a mineral with hardness 5 but will not scratch one with hardness 7. A steel nail, roughly in the 5.5 range, scratches apatite and calcite but not orthoclase. A copper coin, around 3.5, scratches calcite but not fluorite. A fingernail, about 2.5, scratches gypsum and talc but not calcite. Those few tests cover a surprising amount of ground.
Some minerals are harder in one direction than another. Kyanite is the classic example: it can be scratched across one crystal direction and resist scratching along another. Diamond also shows directional hardness, which is one reason lapidaries pay attention to grain. If a result seems inconsistent, test again in a different direction before assuming the first test was wrong.
You do not need a laboratory kit. A practical set of comparison tools is easy to assemble and easy to replace:
Keep the tools clean. A rusty nail or a gritty cloth can produce scratches that have nothing to do with the mineral. Wipe the test area and the tool before each use, and store soft reference minerals separately so they do not pick up grit.
The goal is a short, light stroke that leaves evidence without disfiguring the piece. Work from soft to hard, and stop as soon as the answer is clear.
A true scratch is a narrow groove cut into the mineral. A soft mineral may leave powder on the tool without being scratched at all. A steel tool may leave a metallic smear on a hard mineral, which can look like a mark but is not a groove. Clean the spot and look again under magnification; the difference matters.
Fresh surfaces give better answers than weathered ones. A limonite crust or a clay coating can make a hard mineral seem soft. Test a freshly broken edge if you can do so without harming the specimen. Likewise, a coarse aggregate may behave differently from a single crystal. Cryptocrystalline quartz, for example, does not always respond like a clean quartz point, even though both are silica.
Use known comparisons to keep your hand honest. A copper coin should scratch calcite but not fluorite. A steel nail should scratch fluorite and apatite but not orthoclase. Quartz should scratch glass; glass should not scratch quartz. If one of those checks fails, suspect a dirty surface, a coated specimen, or a tool that is not what you think it is.
Inconspicuous does not mean invisible. A good test spot is a broken base, a rough corner, or a tiny fragment that has already come loose. Avoid terminations, cleavage faces you want to keep, labels, and mounted specimens. If the mineral is a cut gem, a rare crystal, or a piece with good aesthetic value, do not scratch it. Use luster, streak, cleavage, and association instead, and accept that the identification may remain provisional.
Safety deserves a moment. Some mineral dusts are harmful, and fine powders from any specimen are better avoided. Work in a ventilated area, wear eye protection when breaking or trimming, avoid inhaling dust, and wash your hands afterward. If you suspect a specimen contains asbestos-group minerals or another hazardous material, do not disturb it; seek specialist advice before testing or cleaning.
Carry a fingernail, a copper coin, a steel nail, a glass slide, a quartz point, and a magnifier. At the specimen, pick a hidden spot, clean it, and test from soft to hard with one light stroke at a time. Write down the tool and the result before moving on. If the specimen is valuable, fragile, or simply too good to mark, put the tools away—the best hardness test is the one you do not regret.
Photo: analogicus / Pixabay
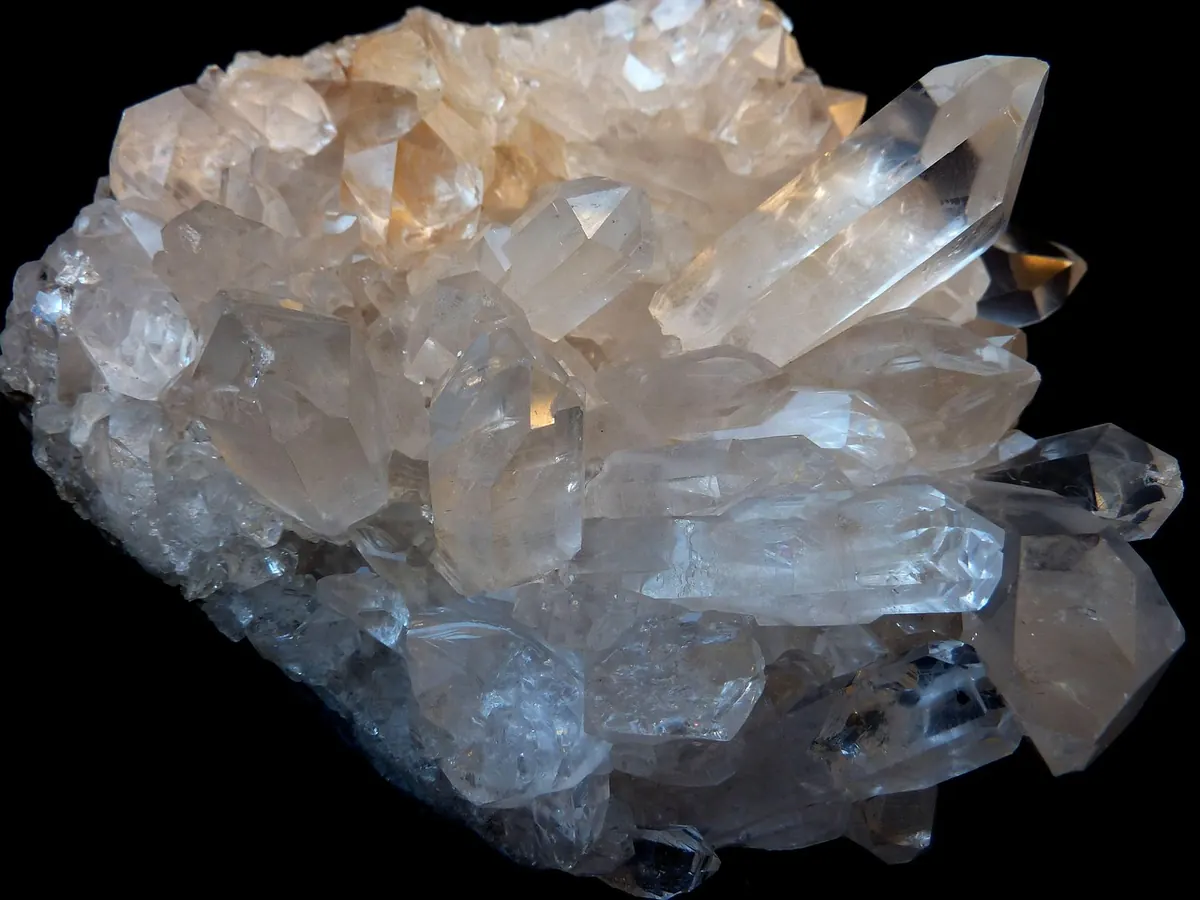
Clusters bring drama, context and a story about how crystals grow; single points bring clarity, easy display and a...
Spring thaw lifts, cracks and scours the ground, briefly exposing fresh material. Here is how to time trips, read...
Copyright © 2026 Quarzo Diario. All Right Reserved.