Crystal Clusters vs. Single Points: Which Specimen Should You Collect?
October 31, 2026 - Crystals
A good day in the field rarely begins with finding something. It begins with a decision: which site, whose permission, what the weather is doing, and how much weight you are willing to carry back to the car. Collectors who come home with a few clean specimens and no regrets are usually the ones who did the unglamorous work first. What follows is a checklist built from ordinary field habits — the kind that keep a collecting day safe, legal and worth repeating next season.
Land status decides almost everything else. A roadside exposure, a quarry, a river bank, a mountain outcrop and a beach all sit under different rules, and those rules can change at the boundary fence. Public land is not automatically open to collecting, and many protected areas prohibit removing minerals, fossils and rock altogether. Private land requires the owner's permission, and permission means the specific owner of the specific parcel — not a neighbour who thinks it will probably be fine.
Ask clear questions: may I enter on this date, may I use hand tools, may I take material, and is there a limit on quantity? Quarries and working pits usually require sign-off from the site manager, along with high-visibility clothing, a briefing and sometimes an escort. If you plan to visit with a group, confirm whether the permission covers everyone.
Regulations vary widely between countries, regions and even neighbouring jurisdictions, so verify with the managing agency, the landowner or a local club before you travel. Where a decision carries real consequences — access disputes, commercial collecting, anything involving protected land — get the answer in writing and take professional advice. A short email saved on your phone has ended more arguments than any heated discussion at a locked gate.
Research the locality properly. Old reports and club records tell you what the site has produced, from which horizon, and often which part of the exposure is worked out. That saves you from hammering a barren wall for three hours. Check the access route, the condition of the track, the forecast, and the time of sunset. Coastal sites need tide times; mountain sites need an honest assessment of how quickly weather turns.
Tell someone where you are going and when you expect to be back, and carry a map plus an offline navigation app, because phone coverage at collecting sites is often poor. Go with a partner when the ground is remote or the workings are large. A second person can hold a light, share the driving and, more importantly, go for help.
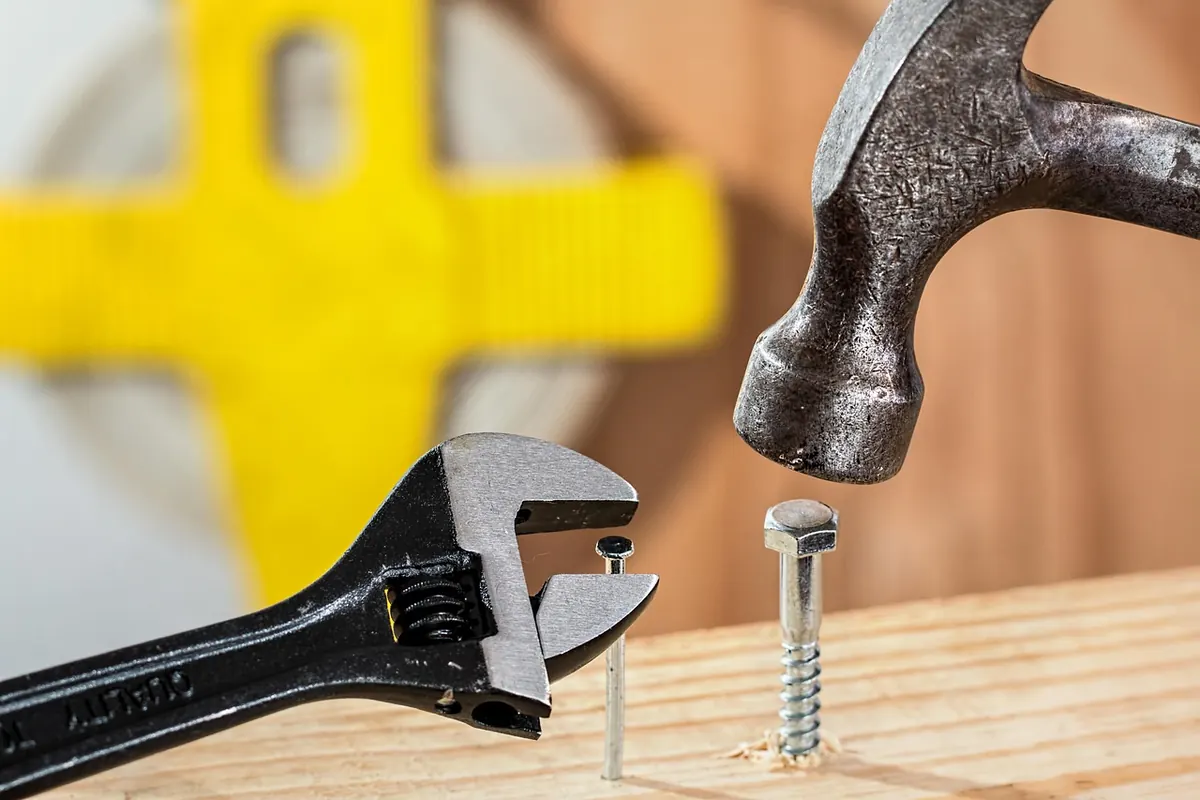
Weight is the enemy of a long walk, so build a kit that earns its place. The essentials:
A dropper bottle of dilute acid or plain vinegar helps with carbonate tests; keep it sealed, labelled and used outdoors, away from your eyes and your specimens' labels. Pack a small brush and a soft cloth too — a little cleaning on site often tells you whether a find is worth the carry.
Never work directly beneath a face you have been hammering. Undercutting the base of a wall to reach a seam is how collectors get buried, and it also destroys the exposure for everyone after you. Work from the side, keep your feet on stable ground, and make sure nobody is standing below your work area. If a block is too big to lift, it is too big to lever with a hammer — use a bar, or leave it.
Abandoned shafts, adits and stopes are the most dangerous places at many classic localities. Unstable timbers, loose ground, drops hidden by vegetation and poor air are all real hazards. Stay out unless you have specific training and proper equipment; photographing a portal from a safe distance is a perfectly good result.
Set a turn-around time before you start digging, and honour it. Fatigue causes more field injuries than difficult ground does. Drink before you are thirsty, eat something at midday, and remember that the walk back is always longer with a full pack.
Collecting is inherently a form of disturbance, so the aim is not zero impact but minimal, considered impact. Backfill shallow pits and replace the spoil where you can. Do not flatten a whole seam to extract one crystal — work the pocket carefully, take what you will actually curate, and leave the rest for the next visitor. Avoid hammering rock art, historical inscriptions or any feature that cannot be replaced.
Respect other collectors' workings and marked claims. Leave gates as you found them, close them behind you, and keep livestock undisturbed. Take your litter and broken tools home. Be careful with precise locality information online: fragile or small sites can be stripped within a season once coordinates circulate, so share details privately and thoughtfully.
Before the exhaustion sets in, write the label. Record the locality as precisely as you can justify, the date, your name, and notes on the host rock and associations. Wrap delicate pieces individually, keep small crystals in their own bags, and label the bag rather than relying on a notebook entry you will struggle to match later. A modest specimen with a good label is worth more, scientifically and personally, than a spectacular one with no provenance.
Permission confirmed and saved. Landowner or manager contact in your phone. Forecast checked and a turn-around time agreed. Route, map and tide times sorted. Partner briefed, or someone at home told where you will be. Pack laid out with glasses, gloves and hard hat on top. Water and food counted for the full day, not just the morning.
Run through that card the evening before, and again in the car park before you walk in. It takes two minutes, and it turns a lucky day into a repeatable one — the sort of outing you can plan again next month, at a site still worth visiting because the last person left it that way.
Photo: stevepb / Pixabay
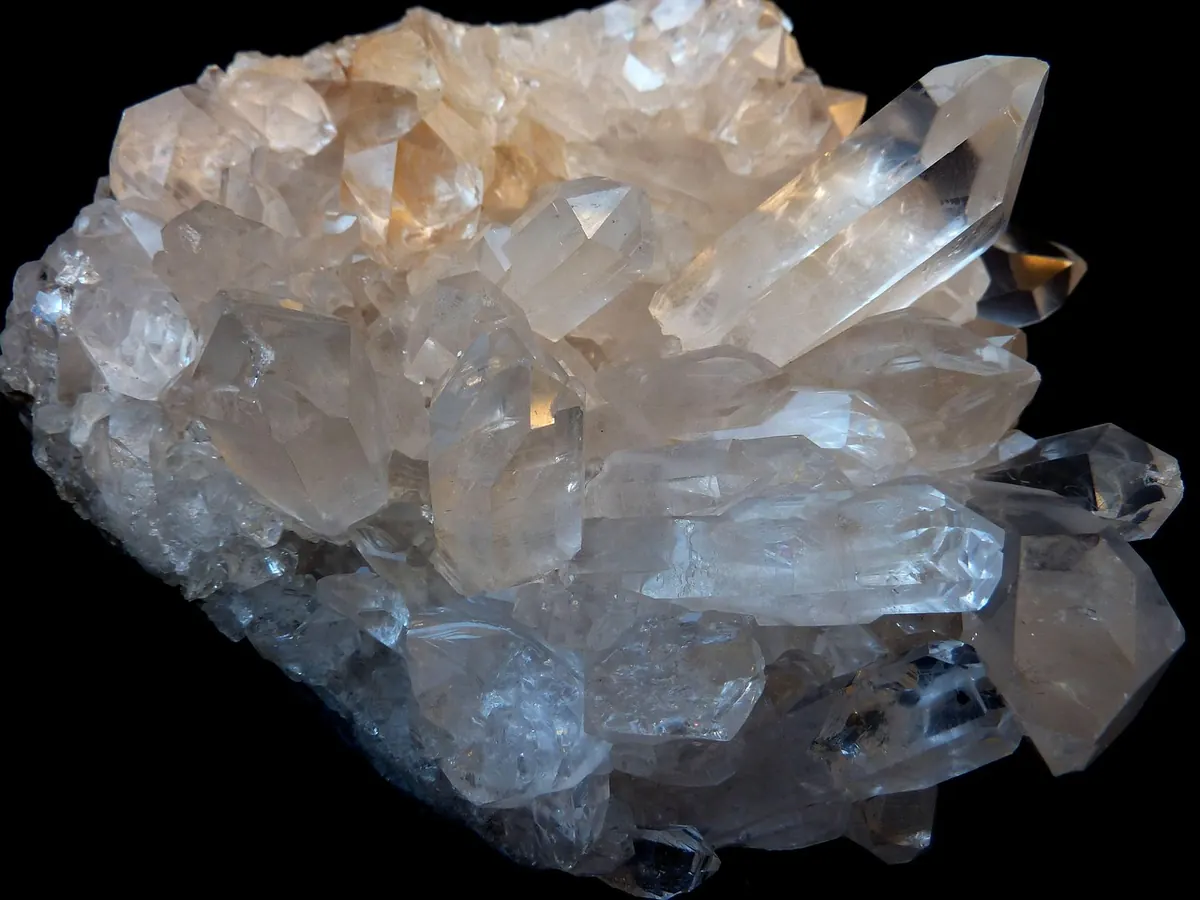
Clusters bring drama, context and a story about how crystals grow; single points bring clarity, easy display and a...
Mohs hardness testing can identify minerals and narrow unknowns, but only if scratches are made on inconspicuous...
Copyright © 2026 Quarzo Diario. All Right Reserved.