Crystal Clusters vs. Single Points: Which Specimen Should You Collect?
October 31, 2026 - Crystals
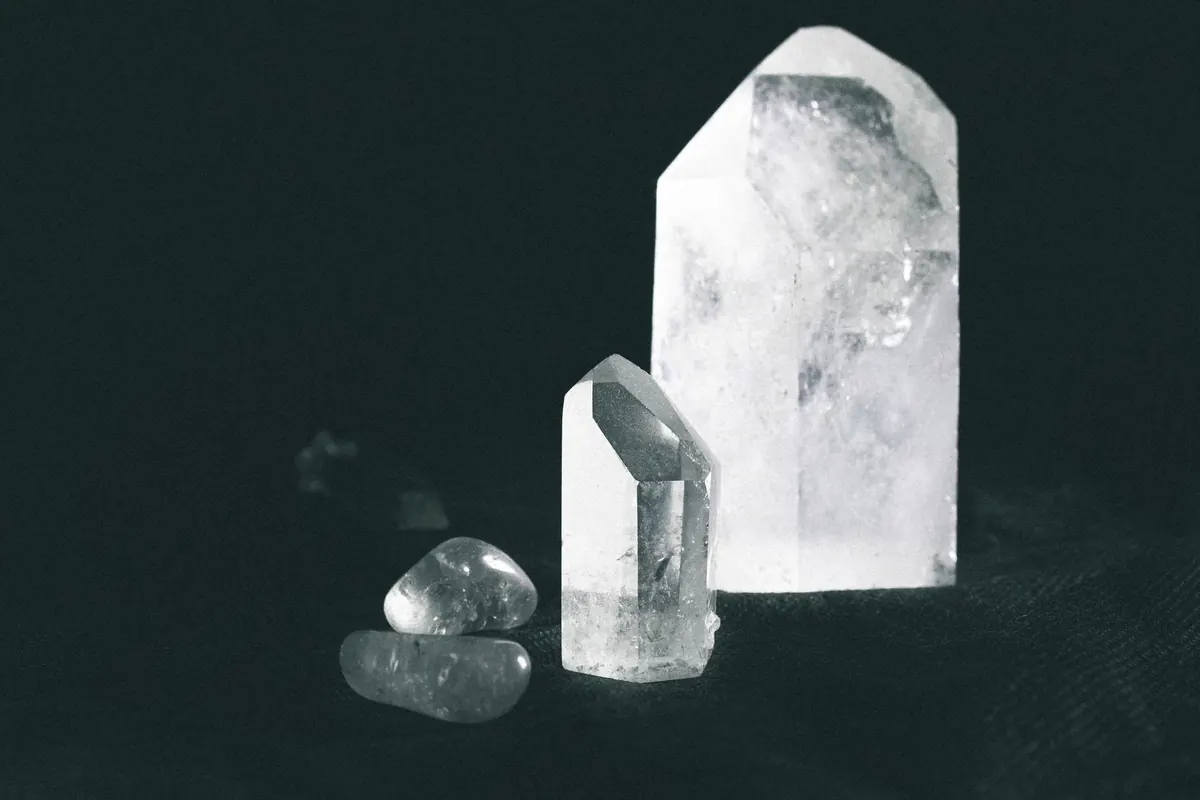
A quartz specimen can sit in a pocket of pegmatite for a hundred thousand years and be ruined in twenty minutes at a kitchen sink. That is not an exaggeration; it is the ordinary fate of a lot of good material. Quartz looks indestructible — hardness 7, chemically stubborn, cheap to replace in most people's minds — and that confidence is exactly what leads collectors to attack it with the wrong brush, the wrong acid, or the wrong amount of impatience. The crystals usually survive. What does not survive is the matrix, the associated minerals, the natural surface, and sometimes the value of the piece itself.
None of this requires expensive equipment to get right. Mostly it requires knowing which mistakes do the damage, and being willing to clean more slowly than feels necessary.
Somewhere along the way every collector hears that oxalic acid or a dithionite-based rust remover will strip iron staining off quartz, and it does work. The problem is what else it does.
Quartz itself is fairly resistant to mild acids, so the crystal often comes out looking better than it went in. The minerals around it are a different story. If your quartz sits on a calcite base, hydrochloric acid or even a long vinegar soak will eat the calcite away and leave you holding a loose crystal that no longer belongs to anything. Feldspar and some micas can dull. Sulfides can react in unpleasant ways. Thin crusts and delicate overgrowths may simply disappear.
There is also the residue problem. Acid that creeps into hairline fractures does not always rinse out, and it can keep working quietly for weeks, weakening the specimen from the inside or leaving pale bloom marks on the surface. Strong acids and dithionite salts also demand gloves, eye protection and real ventilation — this is not a job for a closed bathroom with the fan off. If you use chemicals at all, read the safety data, follow local disposal rules, and when in doubt take advice from someone qualified rather than a forum thread.
The safer sequence is simple: try water and a brush first. Acid is a targeted tool for a specific problem, not a general-purpose bath.
Quartz is harder than most of what it sits next to. Calcite is around 3, fluorite around 4, barite around 3 to 3.5. A stiff bristle brush loaded with a grain of grit will polish a scratch across any of them, and a wire brush will dull a quartz face as well. Steel wool, sandpaper and rotary tools belong nowhere near a mineral specimen unless you are deliberately trimming it.
What works: a soft or medium nylon toothbrush, ideally with the bristles cut shorter for better control, and a wooden toothpick or bamboo skewer for crevices. Brush from the base outward, so you are not dragging mud across a clean termination. Work under running water rather than in a bowl of grey slurry, which just grinds particles against the surface.
Clay is the most common thing people fight with, and brushing wet clay is close to useless — it smears into every crack and dries there. Soak the piece in plain water for a few hours or a day, let the clay swell, then rinse and brush. Repeat. Most clay comes off eventually with patience and almost no pressure.
Ultrasonic tanks are genuinely useful for some sound, single crystals. They are also a fast way to find out how many internal fractures a specimen has. The vibration loosens existing weaknesses, so terminations can shed tips, thin plates can separate from matrix, and fragile secondary growths can flake away. If a specimen rattles when you tap it lightly, or has visible healed fractures, keep it out of the tank.
Temperature is the other quiet hazard. Quartz expands very little with heat, but sudden change still stresses a fractured piece. Hot water followed by a cold rinse, or drying a wet specimen on a radiator or in an oven, invites cracking that shows up days later. Keep everything at room temperature and let specimens air-dry slowly in a dust-free place, out of direct sun.
A long soak is one of the gentlest cleaning methods available, and it is still capable of causing problems.
There is also the forgotten bucket. Specimens left standing in water for weeks grow algae, pick up mineral crusts as the water evaporates, and sometimes develop a smell you will not forget.
This is the mistake that hurts most, because it cannot be undone. Collectors sometimes scrub a piece to bare white quartz and in the process remove the iron oxide film that documented its growth, the matrix that gave it context, or the small associated crystals that made it interesting in the first place.
A quartz on matrix is usually worth more than the same crystal rattling loose in a box. Old collection numbers written on the base, faded labels, even the original glue are part of the object's history. Photograph everything before you start, keep the labels with the piece, and ask yourself honestly whether the "dirt" is dirt or geology. Some patina should stay.
Test any new method on a broken fragment, not on your best specimen. Clean one piece at a time, so a soft mineral is not rattling against a hard one. Do not mix several specimens in one bath. Keep a written note of what you did and how long it soaked, because you will not remember in six months. And accept that some specimens are better left uncleaned — a dusty but intact piece beats a spotless ruin.
For most quartz, this sequence handles the job without drama:
Slower is nearly always safer with quartz. The specimens that survive decades in a collection are rarely the ones that were cleaned hardest; they are the ones that were cleaned carefully, once.
Photo: Lucas Pezeta / Pexels
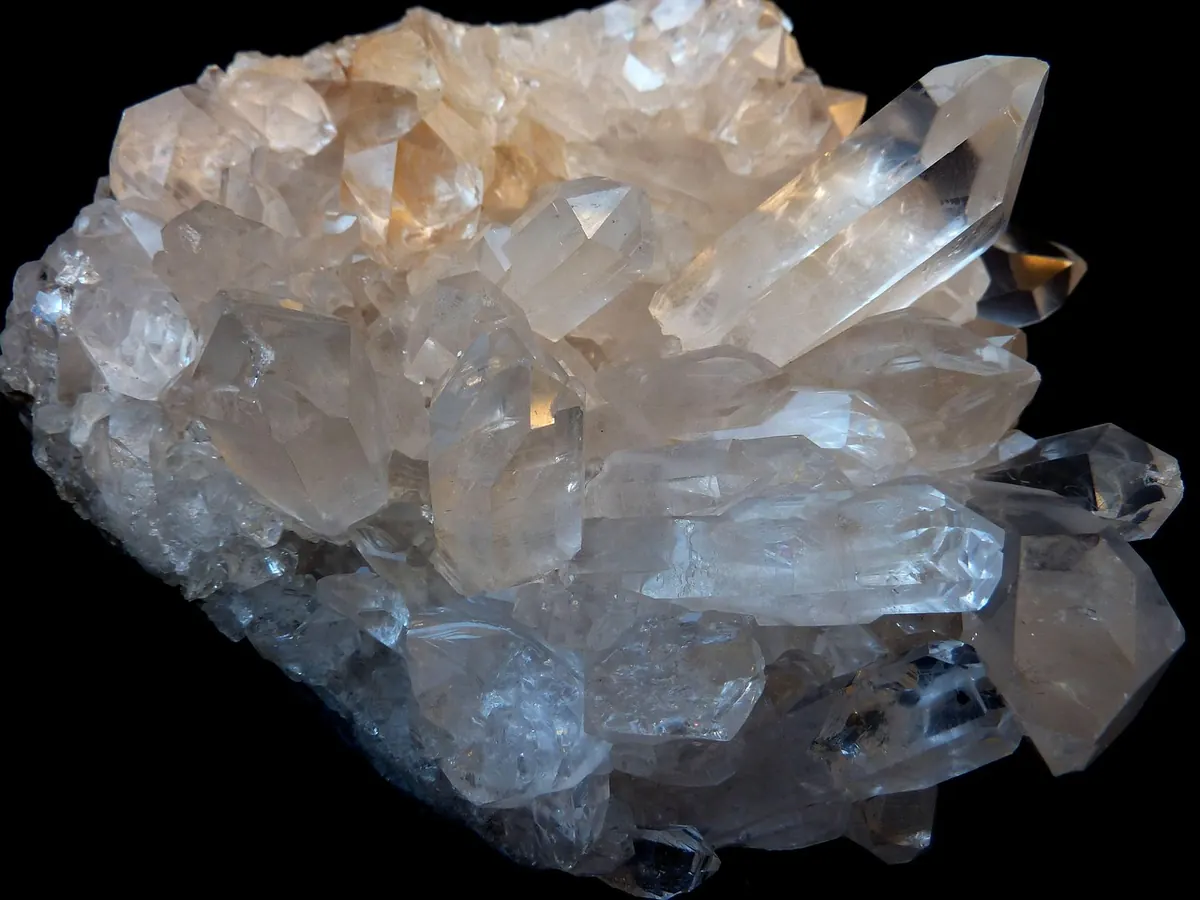
Clusters bring drama, context and a story about how crystals grow; single points bring clarity, easy display and a...
Mohs hardness testing can identify minerals and narrow unknowns, but only if scratches are made on inconspicuous...
Copyright © 2026 Quarzo Diario. All Right Reserved.