Crystal Clusters vs. Single Points: Which Specimen Should You Collect?
October 31, 2026 - Crystals
Quartz is the most abundant mineral you will meet at the surface of the earth, and that is exactly why it gets misidentified so often. Familiarity makes us careless. A glassy point in a road cut gets a nod and a shrug, and then at home it turns out to fizz in vinegar or split along a flat plane that quartz should never have. The routine below is the one worth running in your head every time, particularly when you are tired, the light is going, and the specimen is heavier than you expected.
None of these steps need laboratory equipment. A hand lens, a steel file, a shard of glass, a notebook, and a small bottle of dilute acid if you are working in country where carbonate rock is a real possibility will carry you through. What matters more is the order: habit first, then luster and fracture, then hardness. Get those three right and most bad calls never happen in the first place.
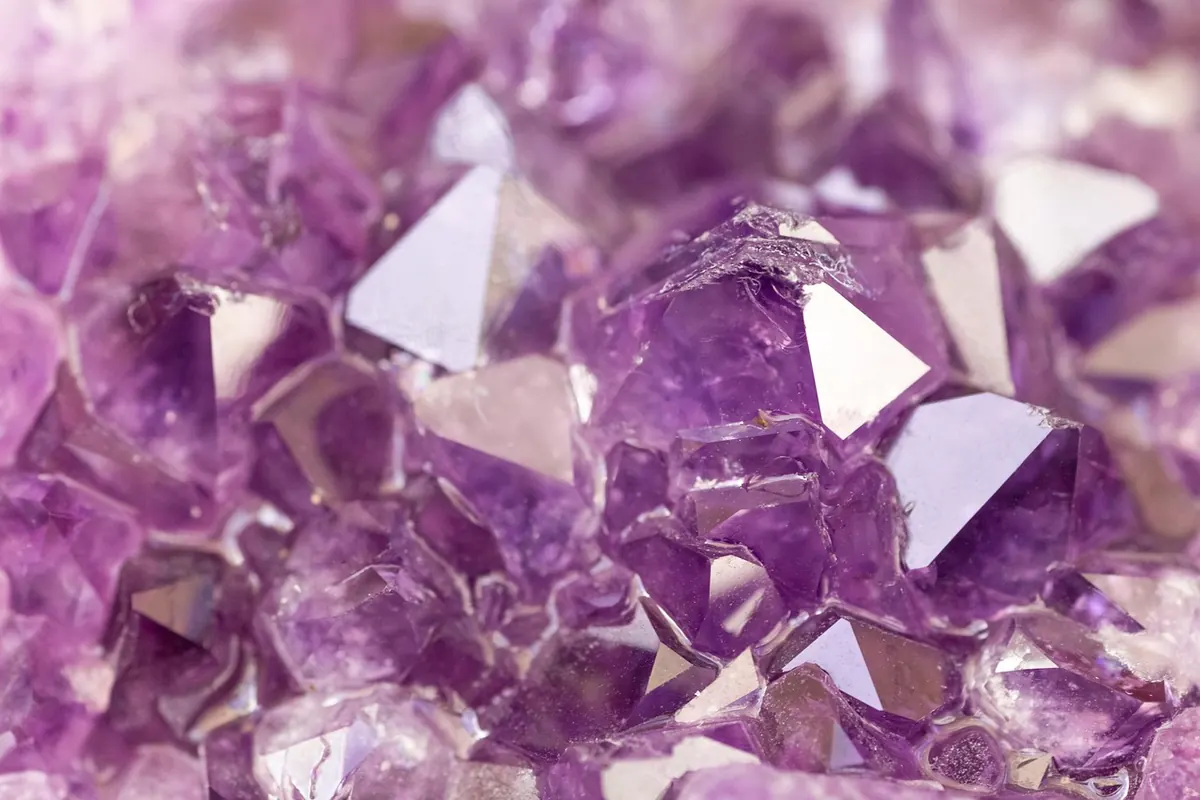
Quartz belongs to the trigonal system, and its classic habit is a six-sided prism capped by a pyramid — six prism faces, six pyramid faces, meeting the prism at a shallow angle that is easy to recognise once you have seen a few hundred. Good crystals are only part of the story, though. Vein quartz is a mass of interlocking anhedral grains, drusy crusts are thousands of tiny points on a single surface, and sceptre crystals carry a second generation growing on the tip of the first. All of it is quartz, and you identify the shapeless material from fracture and hardness rather than outline.
Where a prism face is well developed, look at its surface with a hand lens. Quartz prisms usually show fine horizontal striations running across the face, perpendicular to the length of the crystal. They are subtle and often invisible in flat light, so hold the specimen at an angle and let the sun rake across it. Feldspar, which is the crystal most easily confused with quartz at a glance, does not carry that pattern.
Fresh quartz is vitreous — glassy in the literal sense, with the sheen of a broken bottle. On weathered surfaces and water-rolled pebbles the luster dulls to something greasier or frosted, and that is where people begin second-guessing themselves. Break a small corner if the specimen can spare one. Quartz has no cleavage at all; it fails by conchoidal fracture, producing curved, shell-like surfaces with edges sharp enough to cut a finger. Flat, mirror-bright parallel planes are a warning sign, not a detail to explain away.
Translucency ranges enormously. Rock crystal is clear, milky quartz is nearly opaque, and most of what you pick up sits somewhere in between with fractures, fluid inclusions and iron staining. Luster and fracture together are a stronger signal than colour, which in quartz is almost an afterthought.
Quartz sits at 7 on the Mohs scale. That single number is worth more than any amount of squinting. A quartz point scratches ordinary window glass and is not scratched by a steel knife blade, which is roughly 5.5. Test on a hidden surface, use a glass shard from your own pack rather than scratching a window you do not own, and remember the test only runs one way.
Two cautions. Hardness testing damages the specimen, so choose the ugliest corner. And quartz is harder than a standard streak plate, so the streak test tells you very little here — a faint white mark is more likely powdered ceramic than a true streak. Do not lean on it.
Calcite is the classic trap. It breaks into rhombohedra with three clean cleavage directions, sits at hardness 3, and fizzes in acid. A clear cleavage rhombohedron can pass for a quartz point to an eye in a hurry, and calcite's double refraction gives it away only when you can see through it. Feldspar is the next most common mistake: two cleavage directions meeting at nearly a right angle, hardness 6, and usually an opaque cream or pink body rather than a glassy one. Gypsum and selenite scratch with a fingernail and feel light in the hand. Fluorite breaks into octahedra, appears in purple and green, and is far softer than its confident colour suggests.
Two more deserve a mention. Barite can form tabular crystals that look vaguely quartz-like until you pick them up — the weight is unmistakable. And glass slag, the bane of beaches and old smelter sites, shows bubbles, flow swirls and conchoidal fracture but never crystal faces or striations.
Quartz wears nearly every colour a mineral can wear, and much of that colour is a surface effect. Iron oxides turn a white crystal orange-brown, chlorite coats it green, hematite leaves red phantoms inside. None of this changes the identification, and none of it should change the result of your hardness test. Judge the crystal by fracture, striation and hardness first, then enjoy the colour for what it is.
Run three checks one last time: does it break like glass with no flat cleavage planes, do the prism faces show fine horizontal striations, and does it scratch glass rather than being scratched? If all three agree, wrap the specimen separately so the points do not grind against each other, label it with the location and date on paper rather than in your memory, and photograph it where it sat before you lifted it. Quartz is common; a well-documented piece from a known cavity is worth far more to you in five years than an anonymous beauty in a box.
Mind the rules where you are collecting, too — permission on private land, and no hammering in protected sites or geological reserves. Those limits exist for good reason, and leaving a locality as you found it is the best field habit of all.
Photo: KAVOWO / Pixabay
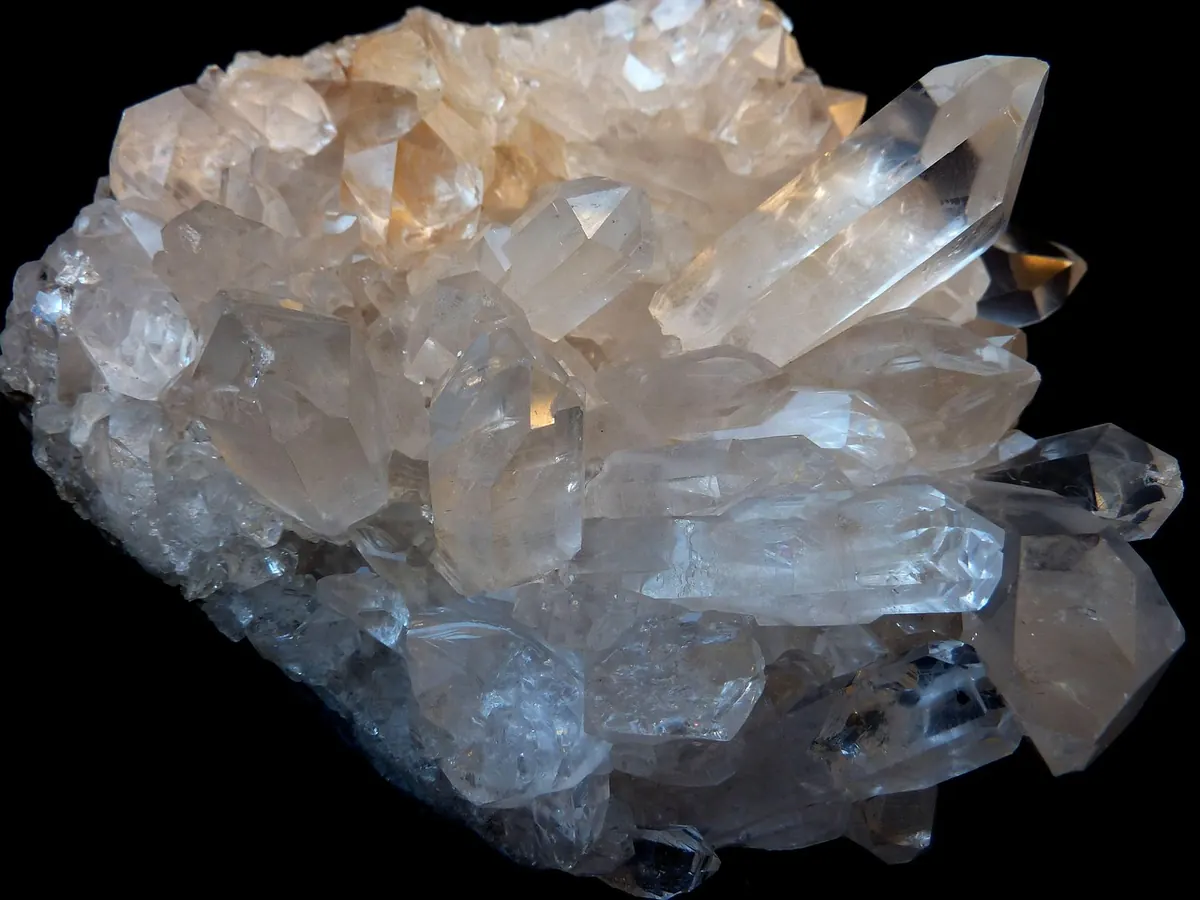
Clusters bring drama, context and a story about how crystals grow; single points bring clarity, easy display and a...
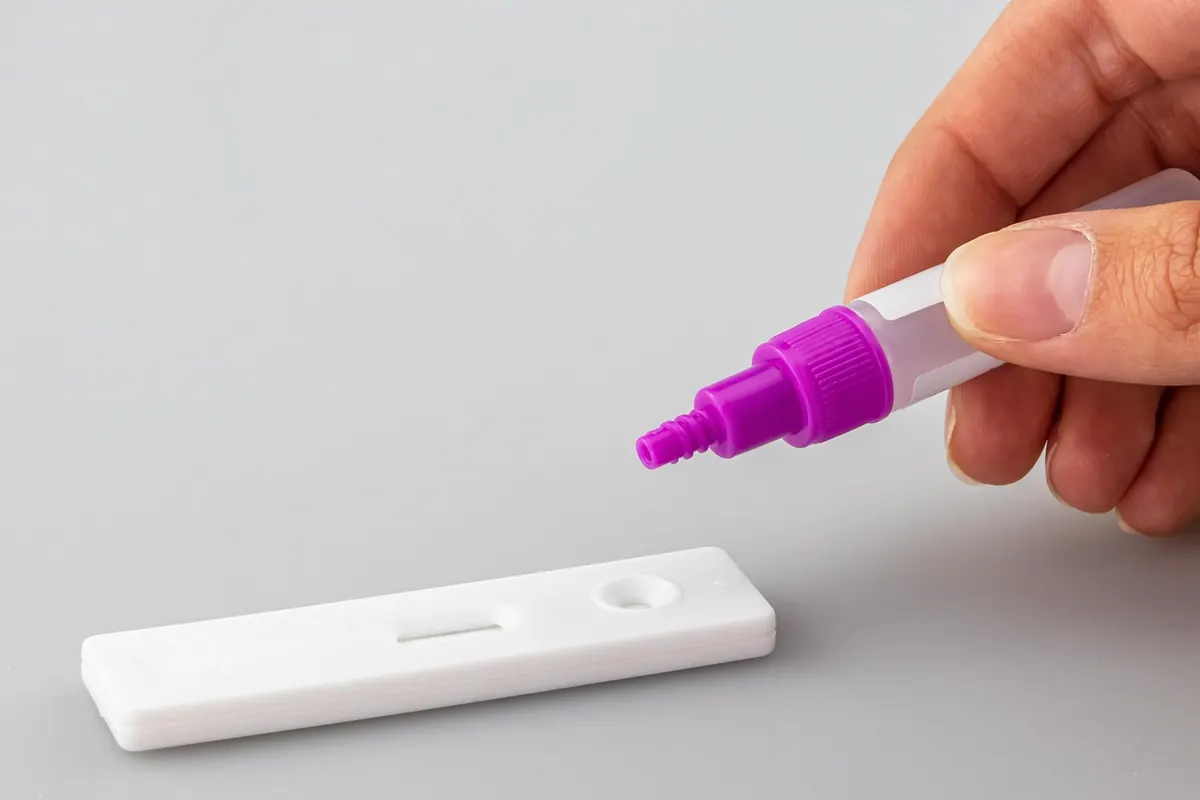
Mohs hardness testing can identify minerals and narrow unknowns, but only if scratches are made on inconspicuous...
Copyright © 2026 Quarzo Diario. All Right Reserved.